How to Use Resting, Basting and Glazing to Finish Dishes Properly
# How to Use Resting, Basting and Glazing to Finish Dishes Properly
There's a moment in cooking that most recipes rush past — the final few minutes before a dish hits the table. Get this right, and everything clicks: the meat is juicy, the sauce clings, the surface has that deep, lacquered colour that makes people stop mid-conversation.
Get it wrong, and even a well-cooked piece of protein can end up dry, pale, or disappointingly flat.
---
Why the Final Stage of Cooking Matters More Than You Think
Most home cooks put their energy into preparation — the seasoning, the technique, the temperature. That's all important. But the finishing stage — resting, basting, and glazing — is where you actually lock in everything you've worked for.
These aren't decorative steps. They're functional ones, rooted in the science of how heat, moisture, and sugar behave at high temperatures. Understanding why they work means you can apply them confidently across everything from a Sunday roast to a midweek sheet pan dinner.
---
Resting: The Step That Most People Skip Too Quickly
Ask most people what resting meat means and they'll say "letting it sit for a few minutes." That's technically correct, but it undersells what's actually happening inside the protein.
When meat hits heat, muscle fibres contract and push moisture toward the centre of the cut. The outer layers cook faster, tightening up and essentially trapping liquid in the middle. If you slice straight through it the moment it comes off the heat, that liquid rushes out immediately — onto your board, not into your mouth.
Resting allows the muscle fibres to relax and the internal temperature to equalise. The moisture redistributes throughout the cut rather than pooling in the centre. The result is noticeably juicier meat with every slice.
How long should you rest? A good rule of thumb is roughly one minute per 100g for smaller cuts — a chicken breast or pork chop needs around five minutes. Larger joints, like a leg of lamb or a whole chicken, benefit from 15 to 30 minutes. Don't be afraid of the rest being "too long" — a large joint wrapped loosely in foil will retain its heat for longer than you think, and the carry-over cooking effect (where the internal temperature continues to rise after leaving the heat) means you're not losing anything.
One common misconception: resting only applies to meat. In fact, resting freshly baked bread or pastry allows steam to escape evenly and structure to set properly. Cut into a loaf straight from the oven and the crumb will be gummy and collapse under the knife. Give it twenty minutes and it slices cleanly.
---
Basting: Building Flavour in Layers, Not All at Once
Basting is the process of spooning or brushing cooking juices, fat, or a separate liquid over the surface of food during cooking. It's one of those techniques that looks fussy on the surface but actually does real work — when done at the right time.
The primary job of basting is to keep the surface moist and to build up layers of flavour. When pan drippings or a flavoured butter hits a hot surface repeatedly, it creates a cumulative effect — each pass adds another thin, seasoned coat. The result is a more complex, richer crust.
There's an ongoing debate about whether basting a roast in the oven actually speeds up cooking. The short answer: probably not significantly. Opening the oven door drops the temperature, which can offset any benefit. But basting during a roast still serves a purpose — it adds flavour and encourages even browning on the surface.
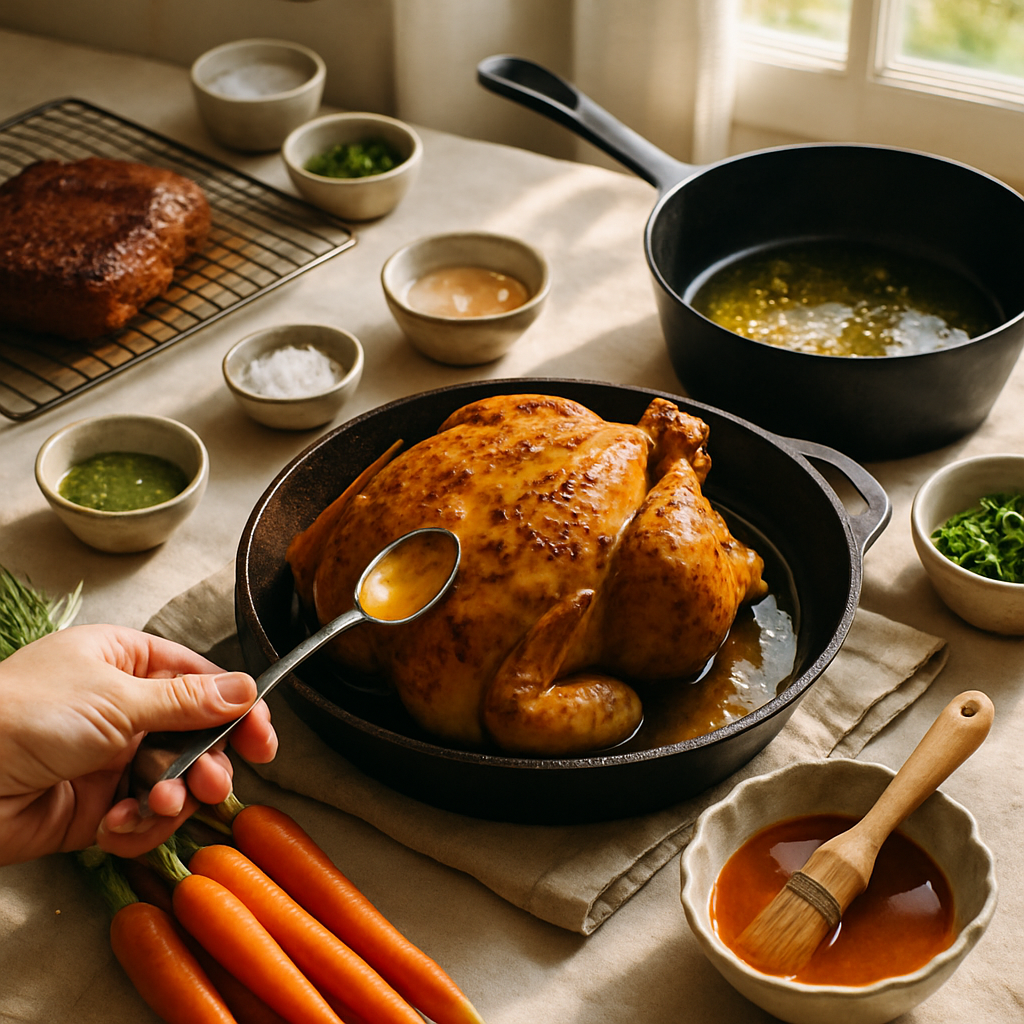
Where basting really earns its place is on the hob or on the grill. Basting a steak or a piece of fish with foaming butter, garlic, and thyme directly in a hot pan — tilting the pan and spooning the fat continuously over the protein — is genuinely transformative. The Maillard reaction (the browning process responsible for flavour development) is accelerated by the fat, and aromatics in the basting liquid infuse into the surface in real time.
For poultry, basting under the skin before roasting — pushing herbed butter directly against the flesh — is more effective than surface basting alone. The fat bastes from the inside out as it melts.
---
Glazing: Colour, Caramelisation, and That Professional Finish
A glaze is a thin, often sweet or sticky coating applied to food that sets into a shiny, flavour-dense surface. Think of a honey-roasted parsnip, a lacquered duck leg, or the deep mahogany crust on a good BBQ rib.
Glazes work because sugars caramelise at around 160–180°C, creating new flavour compounds — hundreds of them — that weren't present in the raw ingredients. When combined with the Maillard reaction in proteins, you get both caramelisation and browning happening simultaneously, which is why a well-glazed dish has such complexity in the crust.
Common glazing bases include:
- Honey or maple syrup — fast-caramelising, good for roasted vegetables and poultry
- Reduced stock or pan juices — savoury, umami-rich, suits beef and lamb
- Fruit-based glazes (marmalade, hoisin, tamarind) — acidic and sweet, ideal for pork or duck
- Miso and soy — fermented depth, works brilliantly on fish, aubergine, or chicken thighs
Timing matters enormously with glazes. Apply too early and the sugars burn before the food is cooked through. The last 10–20 minutes of cooking is usually the right window for most roasts and oven dishes — you want enough heat to set the glaze without charring it. Apply in two or three thin coats rather than one thick one, giving each coat a few minutes to set before adding the next.
For hob or grill cooking, a glaze applied in the final minute or two — then left untouched over high heat — will bubble, set, and develop colour rapidly. Resist the urge to move the food while it sets.
---
What the Evidence Shows
The science behind these techniques is well-established. Research on meat resting, including work published in food science literature, consistently shows that cutting into meat immediately after cooking results in significantly greater moisture loss — sometimes up to 40% more juice lost compared to a properly rested cut.
Studies on the Maillard reaction, extensively documented in food chemistry, confirm that fat accelerates browning compared to a dry surface — which is the scientific basis for why basting with butter during pan cooking produces faster, more even colour.
On glazing, food scientists note that the layering approach — thin coats, multiple applications — produces a more uniform caramelisation than a single heavy application. This is because a thick coating insulates the surface, slowing the heat transfer needed to trigger caramelisation properly.
None of this is particularly new knowledge — professional kitchens have operated this way for decades. But it's the kind of practical science that rarely makes it into home cooking conversations.
---
How These Three Techniques Work Together
The most satisfying dishes usually combine all three. A roast chicken, for example: roasted with herb butter under the skin (basting from the inside), glazed with honey and pan juices in the final fifteen minutes, then rested for twenty minutes before carving. Each technique solves a different problem — moisture, surface flavour, and juice retention — in sequence.
The same logic applies to something as simple as a glazed salmon fillet. Baste with oil and aromatics during cooking, apply a miso glaze in the final two minutes, then let it rest briefly before serving. You're stacking techniques, not layering complexity for its own sake.
---
Practical Takeaways
Here's what to take into the kitchen today:
- Always rest meat and fish — use five minutes minimum for small cuts, 15–30 for large joints. Tent loosely with foil to retain heat.
- Baste on the hob using foaming butter, tilting the pan and spooning continuously. This works better and faster than oven basting.
- Push flavoured butter under the skin of poultry before roasting — it's more effective than surface basting.
- Apply glazes in thin layers during the final 10–20 minutes of cooking. Two or three coats beat one thick one every time.
- Watch the sugar — honey and fruit-based glazes burn faster than stock-based ones. Lower the temperature slightly if you're using a sweet glaze on a long cook.
- Rest your bread — at least 20 minutes out of the oven before slicing. The texture will thank you.
These aren't complicated techniques, but they're the difference between a dish that's merely cooked and one that's properly finished.
---
If you want meal plans built around recipes that actually teach you to cook well, Macrology generates macro-perfect meal plans in seconds — https://macrology.app/signin
Want meals like this planned to your exact macros?
Macrology generates a personalised meal plan in seconds — breakfast, lunch, dinner and snacks, all hitting your daily targets.
Start your free 14-day trial