How to Use Indirect Heat for More Consistent Results When Roasting
# How to Use Indirect Heat for More Consistent Results When Roasting
There's a particular kind of frustration that comes with pulling a roast out of the oven only to find it's scorched on the outside and stubbornly undercooked in the middle. It happens to experienced home cooks too — and more often than not, the culprit isn't the recipe, it's the heat.
Understanding how indirect heat works when roasting can be the difference between food that's merely cooked and food that's genuinely worth eating.
What Actually Happens Inside Your Oven
Most people think of their oven as a uniform box of heat. It isn't. When you roast something directly over a heat source — whether that's a bottom element, a gas burner, or a fan pushing hot air — the surface of the food closest to that source heats up far faster than the interior.
This temperature gradient is the root cause of most roasting problems. The outside reaches high temperatures quickly, triggering browning reactions and crust formation, while heat slowly conducts inward. By the time the centre is properly cooked, the exterior has often gone too far.
Indirect heat is the principle of managing that gradient deliberately — slowing surface heating, allowing the interior to catch up, and producing more even results throughout.
Direct vs Indirect: What's the Difference?
In the context of oven roasting, indirect heat doesn't mean the food never sees high temperatures. It means you're shielding or redirecting the heat so it doesn't assault the food from one concentrated direction.
On a barbecue or grill, the distinction is stark: direct heat means food sits directly over the flame, indirect means it sits to the side with the lid on, cooking in ambient heat. In a conventional oven, you're working with a similar principle but with more subtlety.
Techniques that create indirect heat in the oven include positioning your rack centrally, using foil to tent the food, placing the roasting tin inside a larger tin, adding liquid to the pan, or starting at a lower temperature before finishing with a blast of higher heat. None of these are complicated. They just require a bit of intentional thinking before you turn the dial.
Why This Matters More for Some Foods Than Others
Indirect heat is particularly valuable for large, dense cuts of meat — a whole chicken, a leg of lamb, a rolled pork shoulder. These take a long time to cook through, which means the surface is exposed to heat for an extended period. Without some management of that heat, you're fighting against the clock every time.
It also matters for root vegetables like carrots, parsnips, and potatoes, which can char on the bottom of a tin before they're cooked through in the middle, especially when cut into larger pieces.
On the other hand, thin cuts, fish fillets, or vegetables cut small actually benefit from more direct, aggressive heat — they cook through quickly enough that the extra surface browning isn't a problem.
Knowing which category your food falls into is half the battle.
Practical Techniques You Can Use Today
Here's where theory becomes useful. These are the actual methods that make a measurable difference in your roasting results.
Start low, finish high. This is sometimes called the reverse sear, and it works brilliantly for joints of meat. Roast at around 130–150°C (fan) until the internal temperature is close to your target, then crank the oven to 220°C for 15–20 minutes to develop colour and crust. The meat cooks evenly throughout because the low temperature gives heat time to penetrate before the surface browns.
Tent with foil. Laying a loose sheet of foil over the food for most of the cooking time reflects some radiant heat away and traps steam, which keeps the surface moist and slows browning. Remove it for the final 20–30 minutes to let colour develop. This is especially useful for whole chickens and large joints.
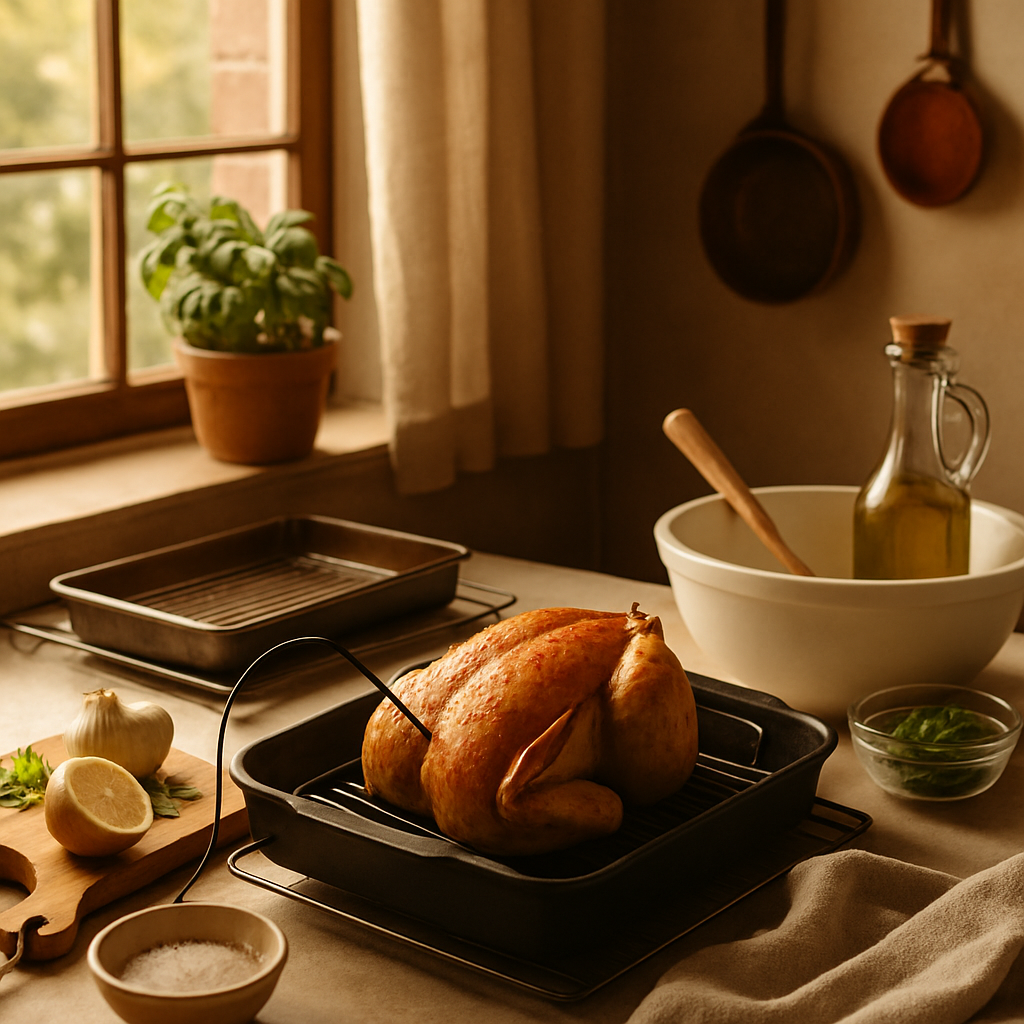
Use a rack inside the roasting tin. Lifting the food off the base of the tin means hot air can circulate underneath, reducing the risk of the bottom overcooking from residual heat in the metal. It also means any fat and juices drip away rather than pooling and potentially burning.
Add liquid to the pan. A splash of stock, wine, or water in the bottom of a roasting tin creates a humid environment. Moisture absorbs heat energy, which moderates the temperature around the food. It also gives you a head start on a sauce.
Consider your rack position. The top of most ovens is hotter because heat rises. The bottom, particularly in gas ovens, is where the direct heat source lives. Centre rack is almost always the safest default for roasting — it puts the food equidistant from both extremes.
Common Mistakes That Undermine Even Cooking
One of the most common errors is opening the oven repeatedly. Every time you do this, you lose heat and the temperature inside fluctuates, which disrupts the cooking process and can add significant time to the overall roast.
Another is overcrowding the roasting tin. When food is packed too tightly, steam can't escape properly, and instead of roasting — which is a dry-heat process — you end up steaming. Give everything room to breathe.
Using the wrong size tin also causes problems. A tin that's too large spreads fat and juices thinly across a wide surface, where they can burn. A tin that's too small causes the food to sit in its own liquid. Match the tin to the food reasonably closely.
Finally, many home cooks skip resting meat after roasting. Resting isn't about keeping the meat warm — it's about allowing the internal temperature to equalise and giving the muscle fibres time to reabsorb some of the juices that have been driven toward the centre during cooking. Even 10–15 minutes makes a real difference.
What the Evidence Shows
Food science supports what experienced cooks have long known intuitively. The Maillard reaction — the browning process that creates complex flavour in roasted food — occurs above around 140°C at the surface. But for most meats, the safe and ideal internal temperature is somewhere between 60–85°C depending on the cut and your preference.
That gap between surface temperature and target internal temperature is enormous. Managing it carefully is the whole game.
Research in food physics consistently shows that lower initial temperatures followed by a high-heat finish produce more evenly cooked results with less moisture loss than roasting at a single high temperature throughout. A 2017 review of cooking methods for beef noted that reverse-sear methods reduced surface overcooking while maintaining comparable internal doneness and better moisture retention compared to traditional high-heat roasting.
The science of thermal conductivity also explains why resting works. Carryover cooking — the continued rise in internal temperature after the heat source is removed — can add 3–8°C to a joint's core temperature depending on its size. Accounting for this, and removing the joint slightly before it reaches its final target, is part of cooking with indirect heat in the broadest sense.
Practical Takeaways
Getting more consistent roasting results doesn't require new equipment or complicated techniques. Here's what to take away:
- Use the centre rack as your default position for most roasting
- Tent larger joints with foil for the majority of the cooking time, then remove it to colour
- Try the low-and-slow start for thick cuts — 130–150°C fan until nearly done, then a high-heat finish
- Use a rack in your tin so heat circulates underneath the food
- Add a little liquid to moderate heat and create the base of a sauce
- Don't crowd the tin — give your food room
- Always rest meat before carving, even briefly
A meat thermometer is the single most useful tool you can add to your kitchen if you don't already have one. Taking the guesswork out of internal temperature means you can focus your attention on surface colour and timing rather than slicing into the joint to check.
---
If you want your meals to be as consistent as your cooking technique, Macrology generates macro-perfect meal plans in seconds — [https://macrology.app/signin](https://macrology.app/signin)
Want meals like this planned to your exact macros?
Macrology generates a personalised meal plan in seconds — breakfast, lunch, dinner and snacks, all hitting your daily targets.
Start your free 14-day trial