How to Use a Cast Iron Pan Properly: Seasoning, Heat and Care Explained
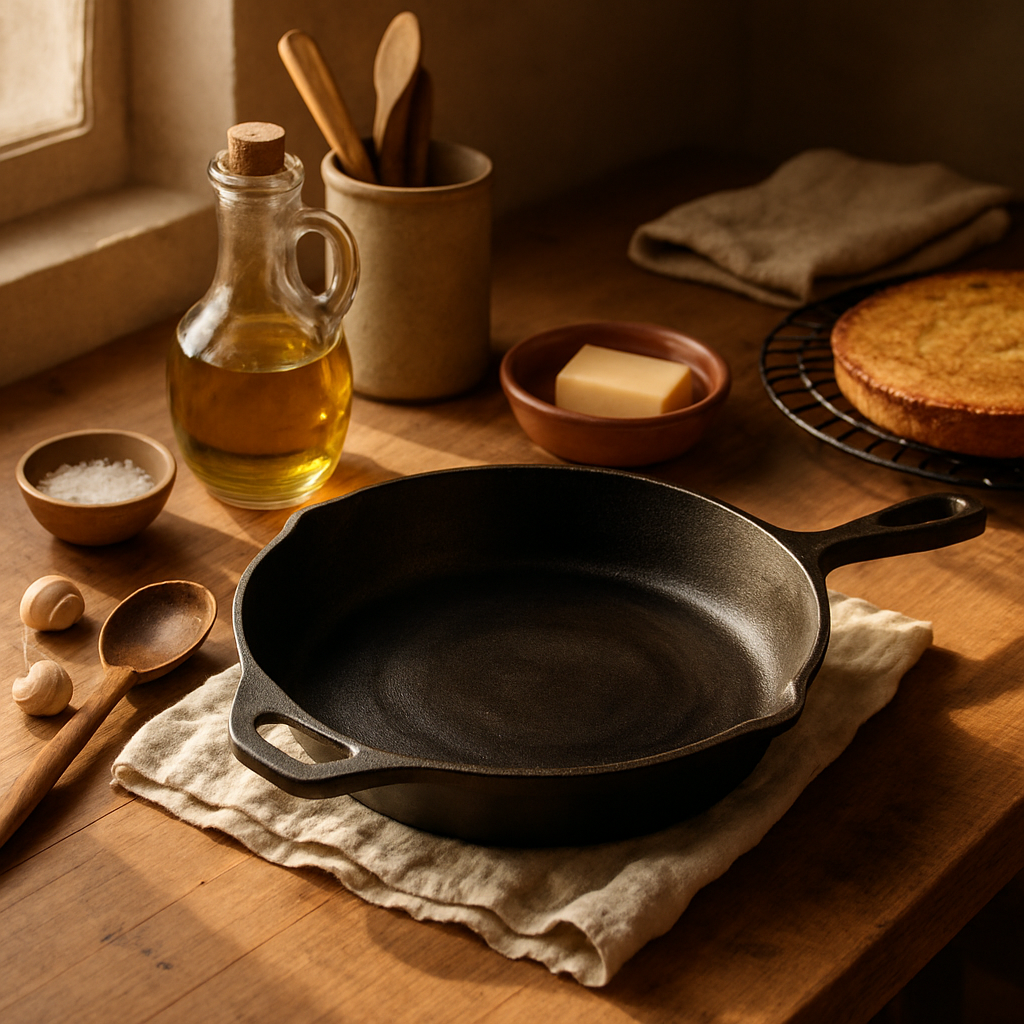
# How to Use a Cast Iron Pan Properly: Seasoning, Heat and Care Explained
There's a cast iron pan sitting in the back of someone's cupboard right now, unloved and slightly rusty, because nobody explained how to actually use it. These pans have a reputation for being fussy, but the truth is they're one of the most forgiving pieces of kit in the kitchen once you understand what they need.
Why Cast Iron Is Worth the Effort
Cast iron has been used for cooking for centuries, and for good reason. It retains heat exceptionally well, meaning it stays at a consistent temperature even when you add cold food — something stainless steel and non-stick pans struggle with. That consistency is what gives you a proper sear on a steak, an even crust on cornbread, or beautifully caramelised vegetables without steaming.
A good cast iron pan, looked after properly, will last generations. It's not unusual to find century-old skillets still in active use. Compare that to a non-stick pan that degrades within a few years, and the upfront effort starts to make a lot of sense.
What "Seasoning" Actually Means
Seasoning is probably the most misunderstood part of cast iron ownership. It sounds like something you do to food, but in this context it refers to layers of polymerised oil that bond to the surface of the pan, creating a naturally non-stick coating and protecting against rust.
Here's how it works: when oil is heated past its smoke point in thin layers on the iron, it undergoes a chemical process called polymerisation. The oil molecules link together and bond to the metal, forming a hard, smooth coating. Over time and with repeated use, this coating builds up and the pan becomes increasingly non-stick.
The most common mistake people make is using too much oil during seasoning. A thick layer of oil doesn't polymerise properly — it goes sticky and gummy instead. The key is thin layers. You're aiming for the pan to look almost dry after wiping the oil on.
How to Season a Cast Iron Pan Step by Step
Start with a clean, dry pan. If you're working with a new pan or one that's been stripped back, wash it with warm soapy water (yes, soap is fine at this stage), dry it thoroughly, then place it on a hob over a medium heat for a few minutes to drive off any remaining moisture.
Once dry, apply a very small amount of a high smoke point oil — flaxseed oil, refined avocado oil, and vegetable shortening all work well. Use a cloth or kitchen roll to rub it all over the pan, inside and out, then wipe away as much as you can. It should look like there's barely any oil left.
Place the pan upside down in an oven preheated to around 220–230°C, with a tray on the shelf below to catch any drips. Bake it for an hour, then let it cool in the oven. Repeat this process three to four times to build a solid base layer. After that, regular cooking — especially anything involving oil or fat — continues building the seasoning naturally.
Getting the Heat Right
This is where most people go wrong first time. Cast iron heats up slowly and unevenly compared to other pans, but once it's hot, it holds that heat brilliantly. The mistake is cranking the heat up full and expecting it to behave like a thin stainless pan.
Always preheat your cast iron. Give it five minutes over a low to medium heat before you add anything. You can test readiness by holding your hand a few inches above the surface — you should feel a strong, even heat radiating up. Some people flick a few drops of water onto the surface; if they bead and evaporate quickly, it's ready.
Avoid dramatic temperature changes. Going straight from a blazing hob to a cold surface, or plunging a hot pan into cold water, can cause cast iron to crack — a process called thermal shock. Let it cool down gradually on a trivet or a folded tea towel.
On induction hobs, cast iron works perfectly, though it may take a little longer to come up to temperature. It's also oven-safe at almost any temperature, which makes it ideal for recipes that start on the hob and finish in the oven.
What the Evidence Shows
Cast iron cooking has attracted interest beyond just culinary tradition. Research published in the Journal of the American Dietetic Association found that cooking in cast iron can increase the iron content of food, particularly acidic dishes like tomato-based sauces. For people with low iron intake — a common issue, especially among women and those eating plant-heavy diets — this could be a small but meaningful contribution.
The degree of iron transfer depends on factors like how long the food cooks, how acidic it is, and how well-seasoned the pan is. A well-seasoned pan transfers less iron than a new or stripped one, because the polymerised coating acts as a partial barrier. So if boosting dietary iron is a goal, a lightly seasoned or newer pan used with acidic ingredients would have the greatest effect.
It's worth noting that cast iron is not a substitute for monitoring dietary iron through food and, where needed, supplementation — but it's a neat bonus for a pan that's already doing a lot of other things right.
Common Mistakes and How to Avoid Them
Cooking acidic foods too often in a new pan can break down the seasoning before it's properly established. Things like tomatoes, citrus, and wine-based sauces are fine occasionally, but if you're building seasoning on a new pan, hold off on long braises with acidic ingredients for the first month or so.
Leaving the pan wet is the fastest route to rust. Always dry it thoroughly after washing — ideally on the hob over a low heat for a minute or two — and apply the thinnest film of oil before putting it away.
Soap is a surprisingly contentious topic in the cast iron community. The old concern was that soap would strip seasoning, which was valid when soaps contained lye. Modern dish soap is far milder and a small amount won't damage a well-established seasoning. That said, there's rarely any need for soap; a stiff brush and hot water handles most residue perfectly well.
If you do get rust, don't panic. Scrub it off with a coarse salt and oil paste or a chain mail scrubber, re-dry the pan, and season it again. Rust doesn't mean the pan is ruined — it just means it needs a bit of attention.
Practical Takeaways
Here's what to keep in your back pocket:
Seasoning: Always use thin layers of high smoke point oil. Three to four oven sessions builds a solid foundation. Regular use with fat does the rest.
Heat: Preheat slowly and evenly. Never rush the warm-up, and never shock a hot pan with cold water.
Cleaning: Hot water and a brush is usually enough. Dry thoroughly every single time, then add the thinnest film of oil before storing.
Rust: Scrub, dry, re-season. It's fixable every time.
Building seasoning: Fry eggs in butter, cook bacon, sear chicken thighs. The fat from everyday cooking is genuinely the best thing for a cast iron pan long-term.
Start with one straightforward cook — something with a bit of fat and no strong acidity. Bacon works perfectly. By the time you've cooked a few meals, the pan will already be improving, and within a few weeks you'll wonder why you ever found it intimidating.
If you want meal plans designed around practical, nutritious cooking that makes good use of kit like this, Macrology generates macro-perfect meal plans in seconds — https://macrology.app/signin
Want meals like this planned to your exact macros?
Macrology generates a personalised meal plan in seconds — breakfast, lunch, dinner and snacks, all hitting your daily targets.
Start your free 14-day trial