How to Use Brining to Keep Meat Juicy and Flavourful
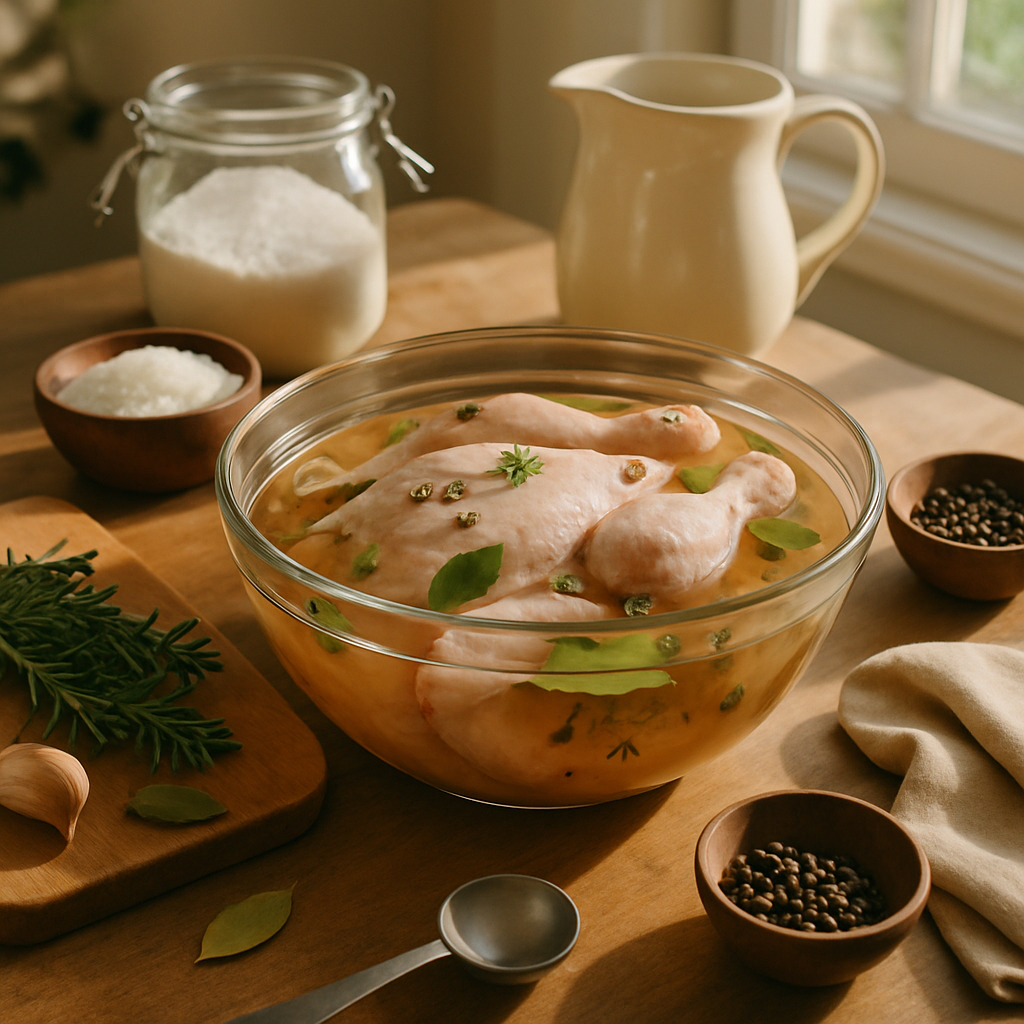
# How to Use Brining to Keep Meat Juicy and Flavourful
There's a reason restaurant chicken tastes nothing like the dry, stringy version you sometimes pull out of the oven at home. The secret isn't a fancy piece of kit or a Michelin-starred technique — it's often something as simple as a bowl of salted water.
Brining is one of the most underused tools in the home cook's arsenal, and once you understand how it works, you'll wonder why it took you this long to try it.
What brining actually is
Brining means soaking meat in a solution of water and salt — and sometimes sugar, herbs, or spices — before cooking. That's it. There are two main types: wet brining, where the meat sits in liquid, and dry brining, where you rub salt directly onto the surface and let it rest.
Both methods do a similar job, but through slightly different processes. Wet brining adds moisture and seasons the meat throughout. Dry brining draws out a small amount of surface moisture first, then reabsorbs it, creating a more concentrated flavour and better browning. Neither is universally "better" — they suit different situations, which we'll get into shortly.
The science behind why it works
Salt does something clever when it comes into contact with meat. It begins to denature the proteins in the muscle fibres, causing them to loosen and restructure. This restructuring allows the cells to hold onto more water during cooking — so when heat causes moisture to evaporate, brined meat loses significantly less of it.
There's also osmosis at play. Initially, water moves out of the meat towards the saltier brine. But over time, the process reverses — the salt and water are drawn back in, carrying flavour with them deep into the muscle tissue. This is why a brined chicken breast tastes seasoned all the way through, rather than just on the surface.
Research published in food science literature consistently shows that brined poultry and pork can retain 15–25% more moisture after cooking compared to unbrined equivalents. That's a meaningful difference you can taste.
What the evidence shows
Beyond the kitchen anecdote, the science is fairly settled here. Studies on meat quality have found that salt concentration, brining duration, and temperature all influence the final result. A brine that's too strong or left too long can actually make meat mushy or unpleasantly salty — so precision matters.
The sweet spot for a wet brine is generally 5–8% salt by weight (roughly 50–80g of salt per litre of water). For most home cooking purposes, 60g per litre is a reliable starting point. Brining time matters too: a chicken breast needs only 30 minutes to two hours, while a whole bird can brine overnight. Pork chops fall somewhere in between — two to four hours is typically plenty.
Sugar is often added to brines not just for sweetness, but because it aids browning through the Maillard reaction and caramelisation. It also balances the salt, making the flavour more rounded. A ratio of roughly 2 parts salt to 1 part sugar is a common starting point, though this varies by recipe and preference.
When to wet brine vs dry brine
Wet brining is particularly well-suited to lean, fast-cooking proteins that are prone to drying out. Chicken breasts, pork loin, and turkey are classic candidates. If you're roasting a whole turkey for Christmas or a Sunday chicken, a wet brine the night before can be genuinely transformative.
Dry brining, on the other hand, is often better for larger cuts or anything where skin crispness is the goal. Because the surface moisture evaporates during the resting period, dry-brined chicken or pork belly develops a better crust in the oven or on the grill. It's also tidier — no giant bowl of liquid to manage in the fridge.
A quick rule of thumb: if you want maximum juiciness, wet brine. If you want crispy skin or a better sear, dry brine. If you're cooking a fatty cut like lamb shoulder or beef brisket, brining is often unnecessary — the fat content keeps the meat moist through long, slow cooking on its own.
Common mistakes and how to avoid them
The most frequent error is using the wrong type of salt. Table salt and flaky sea salt measure very differently by volume. A tablespoon of table salt contains significantly more sodium than a tablespoon of flakes. Always weigh your salt, or you risk under or over-seasoning the brine without realising it.
Brining at room temperature is another common misstep. Bacteria thrive in warm, protein-rich liquid, so your brine should always be completely cold before the meat goes in. If you've made a hot brine to dissolve sugar or steep aromatics, let it cool fully in the fridge first — or add a generous amount of ice to bring the temperature down quickly.
Over-brining is a real risk with delicate proteins. Prawns, for instance, only need 15–30 minutes at most — any longer and the texture starts to deteriorate. Fish fillets are similarly sensitive. When in doubt, go shorter rather than longer, especially the first time you try a new protein.
Flavour additions worth trying
Once you've got the basics down, a plain salt-and-water brine is just the starting point. Aromatics dissolve into the liquid and penetrate the meat along with the salt, adding subtle layers of flavour that you can't achieve with a surface marinade alone.
Some combinations worth experimenting with:
- Bay leaves, black peppercorns, and garlic — a classic, works with almost anything
- Brown sugar, smoked paprika, and apple cider vinegar — great for pork, particularly if you're barbecuing
- Lemon zest, thyme, and a little honey — works beautifully with chicken and turkey
- Star anise, soy sauce, and ginger — excellent for duck or pork belly
Keep aromatics subtle — they're a background note, not the main event. If you've brined in something strongly flavoured, there's no need to add much during cooking.
Practical takeaways
You don't need to overhaul how you cook. Even one small change — brining chicken breasts before your next midweek meal — can make a noticeable difference. Here's a simple starting framework:
Basic wet brine recipe: - 1 litre cold water - 60g salt (weighed, not scooped) - 30g sugar (optional but recommended) - Any aromatics you like
Dissolve the salt and sugar in a small amount of warm water, let it cool completely, then add the rest of the cold water. Submerge your meat, refrigerate, and cook as normal once the time is up. Pat the meat dry before cooking — surface moisture will hinder browning.
Basic dry brine: - Use roughly 1% of the meat's weight in salt (so 6g of salt for a 600g chicken breast) - Rub evenly over the surface, including under the skin where possible - Leave uncovered in the fridge for at least an hour, or up to 24 hours for larger cuts - Cook straight from the fridge rest — no rinsing needed
Start with chicken breasts or pork chops if you're new to this. They're forgiving, the difference is dramatic, and the process takes minutes of active effort.
If you want to take the guesswork out of meal planning and make sure your protein intake actually hits your targets, Macrology generates macro-perfect meal plans in seconds — https://macrology.app/signin
Brining won't fix every cooking problem, but for lean proteins that tend to dry out, it's one of the most reliable improvements you can make. Once it becomes a habit, you'll find yourself planning ahead for it automatically — and the results will consistently speak for themselves.
Want meals like this planned to your exact macros?
Macrology generates a personalised meal plan in seconds — breakfast, lunch, dinner and snacks, all hitting your daily targets.
Start your free 14-day trial