How to Build a Flavourful Braise Without a Lengthy Recipe
# How to Build a Flavourful Braise Without a Lengthy Recipe
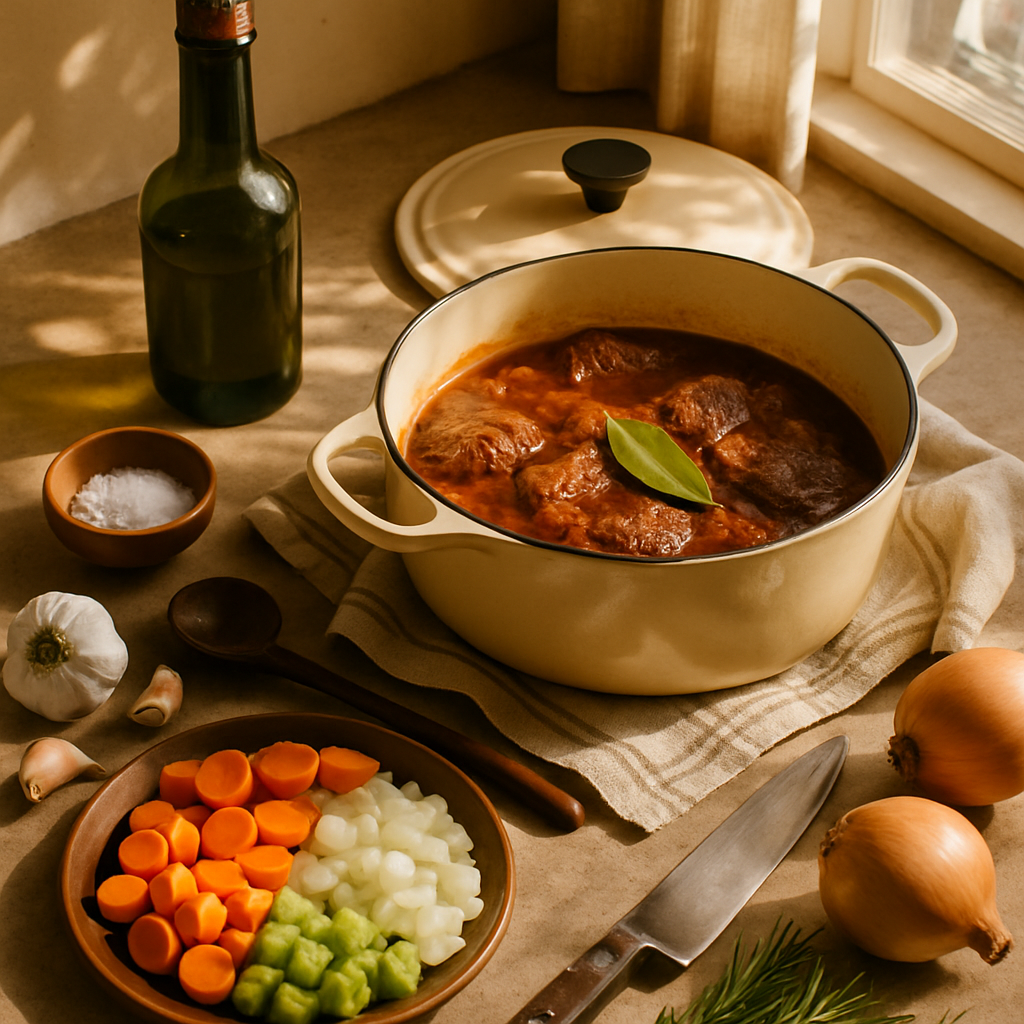
There's a particular kind of magic that happens when cheaper cuts of meat, a handful of aromatics, and some liquid spend a few hours together in a low oven. The result is fall-apart tender, deeply savoury, and — here's the thing — it didn't require you to follow a 47-step recipe with ingredients you can't find outside of a specialist deli. Braising is one of the most forgiving techniques in the kitchen, and once you understand its logic, you can improvise freely every single time.
What Braising Actually Is (and Why It Works)
Braising is a two-stage cooking method: you sear your main ingredient first, then cook it low and slow in a relatively small amount of liquid, usually in a covered pot. That combination of dry heat followed by moist heat is what makes it so effective, particularly for cuts of meat that are high in connective tissue.
The science is straightforward. Collagen — the tough protein found in muscles that do a lot of work, like shoulder, shank, or cheek — breaks down into gelatine when held at around 70–80°C over an extended period. That gelatine dissolves into the braising liquid, giving it a glossy, silky body that no stock cube can replicate on its own.
This is also why braising works best with cheaper cuts. A fillet steak would turn dry and chalky in a braise; a beef shin, left to its own devices for three hours, transforms into something extraordinary.
The Architecture of a Braise
Once you see a braise as a structure rather than a recipe, everything clicks. Every braise — whether it's a French daube, a Moroccan lamb tagine, or a simple pork shoulder — follows the same blueprint.
The protein. This is your anchor. Bone-in cuts bring extra gelatine and flavour; boneless is easier to slice or shred. Either works. Think beef short ribs, lamb neck, chicken thighs, pork belly, or oxtail.
The aromatics. Onion, garlic, celery, and carrot form the classic base — the French call it a mirepoix. You're building a flavour foundation here, so don't rush the initial cook. Give them ten minutes over medium heat until they've softened and started to smell sweet.
The liquid. This should come roughly halfway up your protein, not submerge it entirely — you're braising, not boiling. Wine, stock, tinned tomatoes, cider, beer, or even miso dissolved in water all work brilliantly. A mixture is usually better than any single liquid.
The flavour boosters. Tomato purée adds depth and colour. Worcestershire sauce, soy sauce, or fish sauce each bring umami without any single one dominating. A few sprigs of thyme, a bay leaf, some smoked paprika — these are the details that make your braise taste like yours.
What the Evidence Shows: Nutrition in a Braise
It's worth knowing what's actually happening nutritionally when you braise, particularly if you're tracking macros or trying to eat with intention.
Protein content stays largely intact. Despite the long cooking time, the amino acids in your meat aren't being destroyed — they're just being redistributed. A 200g portion of braised beef shin, for example, can deliver upwards of 35–40g of protein.
Collagen conversion matters. As connective tissue breaks down, the resulting gelatine isn't a complete protein — it lacks tryptophan — but it does contribute to joint health and gut lining integrity, according to research published in journals including the British Journal of Nutrition. It's not a cure-all, but it's not nothing either.
Fat content depends on your choices. Fattier cuts like pork belly or short ribs will result in a richer braise. Skimming the surface fat after cooking (or chilling overnight and removing the solidified layer) is the easiest way to reduce overall fat if that's relevant to your goals.
Vegetables absorb the cooking liquid. This means the carrots and onions you include aren't just flavour vehicles — they're absorbing the minerals and nutrients leaching from the meat and bones during cooking. The whole pot becomes more nutritionally dense than the sum of its parts.
Getting the Sear Right
This is where most home cooks leave flavour on the table. The Maillard reaction — the browning that occurs when proteins and sugars hit high heat — is responsible for most of the deep, roasted complexity in a finished braise. Skip it and your dish will taste flat and stewed rather than rich and layered.
Dry your meat before searing. Pat it firmly with kitchen paper. Any surface moisture will cause steaming rather than browning, and steamed meat is grey, not golden.
Don't crowd the pan. Work in batches if necessary. Every piece needs direct contact with the hot surface.
Use a heavy-based pan. A cast iron casserole or a sturdy Dutch oven retains heat evenly and goes from hob to oven without complaint. It's one of the most worthwhile kitchen investments you can make.
Let each piece sit undisturbed for two to three minutes before you try to move it. If it resists, it's not ready to turn. When it releases cleanly, it's ready.
Building Your Braising Liquid
Once the meat is seared and resting to one side, this is where your braise takes on its character. Add your aromatics to the same pan — the fond (the browned bits stuck to the bottom) will lift as they cook, adding another layer of flavour.
Add a splash of wine or stock and scrape the bottom of the pan immediately. This is called deglazing, and it's essentially free flavour that most people rinse down the sink.
From there, add the rest of your liquid, your flavour boosters, and nestle the meat back in. The liquid should be seasoned but not aggressively so — it'll reduce and concentrate as it cooks. You can always adjust at the end.
A common mistake is adding too much liquid. The goal is a concentrated, glossy sauce when you're done, not a thin soup. Start conservatively; you can always add more.
Temperature, Time, and Knowing When It's Done
Low and slow is the mantra, but what does that actually mean in practice? 140–160°C (fan 120–140°C) is the sweet spot for most oven braises. Higher than that and you're just boiling the liquid, which toughens the meat and drives off the nuanced aromatics.
Time varies by cut. Chicken thighs might be done in an hour and a half. Beef short ribs or oxtail can take four hours or more. The test isn't time — it's texture. A properly braised cut should offer almost no resistance when you press it with a spoon, and a skewer should slide through without effort.
If it's still a little tough at the two-hour mark, put it back in and check every thirty minutes. It will get there.
Practical Takeaways
Start with one reliable combination and riff from there. Beef shin, red wine, beef stock, tinned tomatoes, onion, garlic, carrot, and thyme is a forgiving starting point that will rarely let you down.
Make more than you need. Braises always improve overnight as the flavours continue to meld. They also freeze exceptionally well, making them one of the most efficient weekend cooking projects going.
Use the braising liquid. If it's too thin when the meat is done, remove the meat and reduce the sauce on the hob over medium-high heat for ten to fifteen minutes. It'll thicken beautifully without any flour or cornflour needed.
Match your sides to the sauce. Creamy mash, polenta, or crusty bread are ideal for a rich, wine-based braise. Couscous or flatbreads suit a spiced, North African-style version. Think about what will soak up the liquid best.
Keep notes. A braise you made once and can't recreate is a missed opportunity. Even a quick photo of your ingredient list is enough to rebuild it next time.
If you want to hit your protein and macro targets while eating meals like this, Macrology generates macro-perfect meal plans in seconds — https://macrology.app/signin
Want meals like this planned to your exact macros?
Macrology generates a personalised meal plan in seconds — breakfast, lunch, dinner and snacks, all hitting your daily targets.
Start your free 14-day trial