How to Use Gentle Braising to Get More From Cheaper Cuts of Meat
# How to Use Gentle Braising to Get More From Cheaper Cuts of Meat
There's a quiet irony in how the most expensive cuts of meat are often the least interesting to cook. The ones that demand patience — the ones most people walk past in the supermarket — tend to reward you with something far more satisfying on the plate.
Braising is the technique that makes this possible, and once you understand why it works, you'll find yourself reaching for brisket, shin, and shoulder far more often than fillet.
What Braising Actually Is (and What It Isn't)
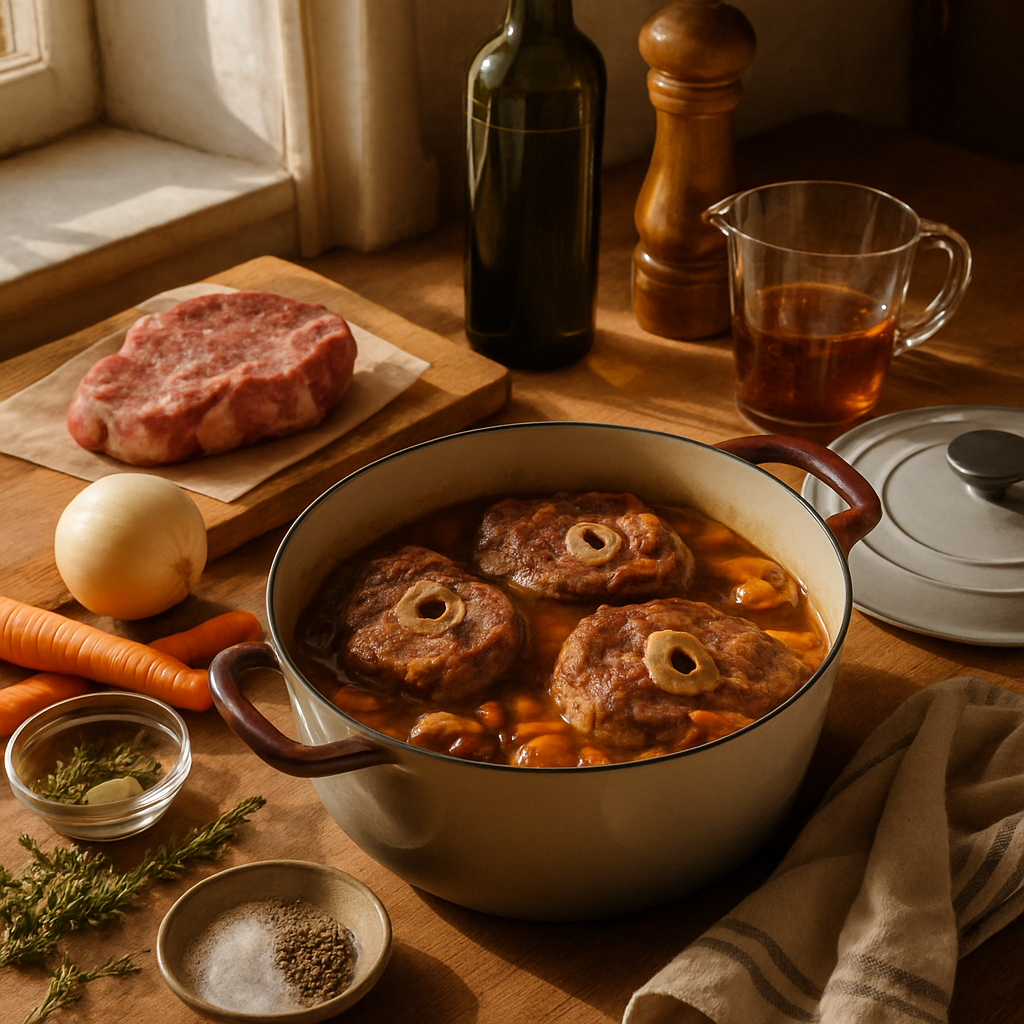
Braising gets confused with stewing fairly regularly, and while the two are cousins, they're not the same thing. Braising typically involves cooking larger pieces of meat, partially submerged in liquid, low and slow — usually in a covered pot in the oven or on the hob. Stewing tends to use smaller, fully submerged pieces.
The key word throughout is gentle. High heat is the enemy here. Cranking up the temperature won't speed things up in any useful way — it'll just tighten the muscle fibres and leave you with something dry and tough, which is the opposite of what you're after.
True braising is about sustained, moderate heat over a longer period. Think 140–160°C in the oven, or a barely-simmering hob, for anywhere between two and five hours depending on the cut.
Why Cheaper Cuts Actually Suit This Method Best
This isn't a compromise or a budget hack — it's genuinely the right tool for the job. Cheaper cuts like beef shin, lamb shoulder, pork cheeks, or chicken thighs are inexpensive precisely because they come from parts of the animal that do a lot of work. Hard-working muscles are denser in connective tissue, specifically a protein called collagen.
Raw collagen is tough and chewy. But when you apply gentle, sustained heat in the presence of moisture, something remarkable happens: collagen breaks down into gelatin. Gelatin is what gives a well-braised dish that unctuous, slightly sticky quality — the sauce that coats the back of a spoon, the meat that pulls apart without any real effort.
This transformation takes time, and it won't happen at high temperatures (which toughen the meat before the collagen has a chance to convert). That's why a fillet steak — which has almost no connective tissue — would turn to mush if you braised it for three hours, while beef shin becomes something extraordinary.
The Building Blocks of a Good Braise
You don't need a complicated recipe. A solid braise follows the same logical sequence every time, and once you've done it twice, you'll be able to improvise freely.
Sear first. Before any liquid goes in, get your meat properly browned on all sides in a hot pan with a little oil. This isn't about "sealing in juices" — that's an old myth. It's about the Maillard reaction, which creates hundreds of new flavour compounds on the surface of the meat. Don't rush this step. Dry your meat with kitchen paper beforehand so it colours rather than steams.
Build aromatics. Once the meat is set aside, cook down your onions, garlic, celery, and carrots in the same pan. Scrape up any browned bits from the bottom — that's concentrated flavour. Add tomato purée, herbs, spices, whatever suits the dish, and let everything cook for a few minutes before the liquid goes in.
Choose your liquid thoughtfully. Stock is the backbone. Wine, beer, or cider can add depth, but they need to be cooked down before you add the bulk of your liquid — raw alcohol in a braise can turn acrid. For a beef shin braise, a reduced red wine with beef stock works beautifully. For pork cheeks, cider and chicken stock. For lamb shoulder, white wine or even just good lamb stock with some tomatoes.
Keep the liquid level low. You want the meat roughly half to two-thirds submerged, not drowned. The braising liquid should be a flavouring medium and a source of gentle steam — not a bath.
Temperature and Time: Where Most People Go Wrong
The biggest mistake in braising is impatience, followed closely by too much heat. If your liquid is bubbling vigorously, it's too hot. You want a very gentle blip on the surface — the occasional lazy bubble.
160°C is a reliable starting point for an oven braise with the lid on. Some cuts, particularly large ones like a whole lamb shoulder, do well starting at 180°C for the first 30 minutes and then dropping to 150°C. This gives you the benefit of some initial colour on the top before the long, gentle cook takes over.
A rough guide by cut:
- Beef shin or cheek: 3–4 hours at 150–160°C
- Lamb shoulder (bone-in): 4–5 hours at 150°C
- Pork shoulder or cheek: 2.5–3.5 hours at 160°C
- Chicken thighs: 1–1.5 hours at 160°C (significantly shorter — they can dry out if overdone)
You'll know the meat is ready when it gives way with very little resistance to a fork or skewer. If it's fighting back, it needs more time.
What the Evidence Shows
Braising isn't just a culinary tradition — the science backs up why it works so effectively. Research on collagen denaturation shows that collagen begins converting to gelatin at around 70–80°C, but this conversion is both temperature and time-dependent. Low, slow heat allows this process to happen thoroughly without simultaneously causing the muscle fibres to contract excessively and expel moisture.
A study published in Meat Science found that longer cooking times at lower temperatures in moist-heat cooking methods preserved more moisture in beef than higher-temperature short cooks — essentially confirming what generations of cooks have known through practice.
From a nutritional standpoint, cheaper cuts braised on the bone are also a meaningful source of collagen-derived amino acids like glycine and proline, which are less abundant in lean muscle meat. The braising liquid itself retains water-soluble nutrients including B vitamins — which is one reason it makes sense to use the cooking liquid as the basis of your sauce rather than discarding it.
Making the Most of Your Braising Liquid
The liquid left in your pot after a long braise is, frankly, too valuable to waste. If the meat has given up its collagen properly, your liquid will set to a loose jelly when cooled — that's a sign of a well-made braise.
Reduce it down on the hob after removing the meat, tasting and adjusting as you go. A few minutes of rapid boiling will concentrate the flavours and give you a glossy, coating sauce without needing any thickening agents. If you want more body, a small knob of cold butter whisked in at the end adds richness and sheen.
Any leftover liquid makes an excellent base for soups, pasta sauces, or to braise more vegetables. Freeze it in portions if you're not using it right away.
Practical Takeaways
A few things you can put into practice the next time you braise:
- Pat meat completely dry before searing — surface moisture is the enemy of a good crust
- Don't skip the sear, even if you're short on time — 10 minutes of proper browning adds enormous depth
- Use a lid that fits snugly — steam is doing real work in a braise and shouldn't escape freely
- Check liquid levels halfway through — if it's dropped dramatically, add a splash of hot stock
- Rest the meat before serving, just as you would a steak — 10–15 minutes loosely covered with foil helps redistribute moisture
- Cool and skim — if you have time, cooling the finished braise and lifting off the solidified fat on top gives you a cleaner, more balanced sauce
- Don't fear the cheaper cut — brisket, shin, cheeks, and shoulder aren't consolation prizes; they're the point
If you want to build meals around cuts like these while hitting your protein and macro targets, Macrology generates macro-perfect meal plans in seconds — https://macrology.app/signin
Braising well is one of those skills that costs almost nothing to learn and pays you back every time. Once you've pulled apart a lamb shoulder that's been in the oven all afternoon, it's hard to go back to treating cooking as something to be rushed.
Want meals like this planned to your exact macros?
Macrology generates a personalised meal plan in seconds — breakfast, lunch, dinner and snacks, all hitting your daily targets.
Start your free 14-day trial